How to Use Nano Banana 2 in Claude Code (Game Changer)
The following guide shows how to use Nano Banana 2 in Claude Code for generating high quality AI images. This is one of the most practical image generation setups right now in Claude Code. Here's how you can get it working.How Nano Banana 2 in Claude Code Works
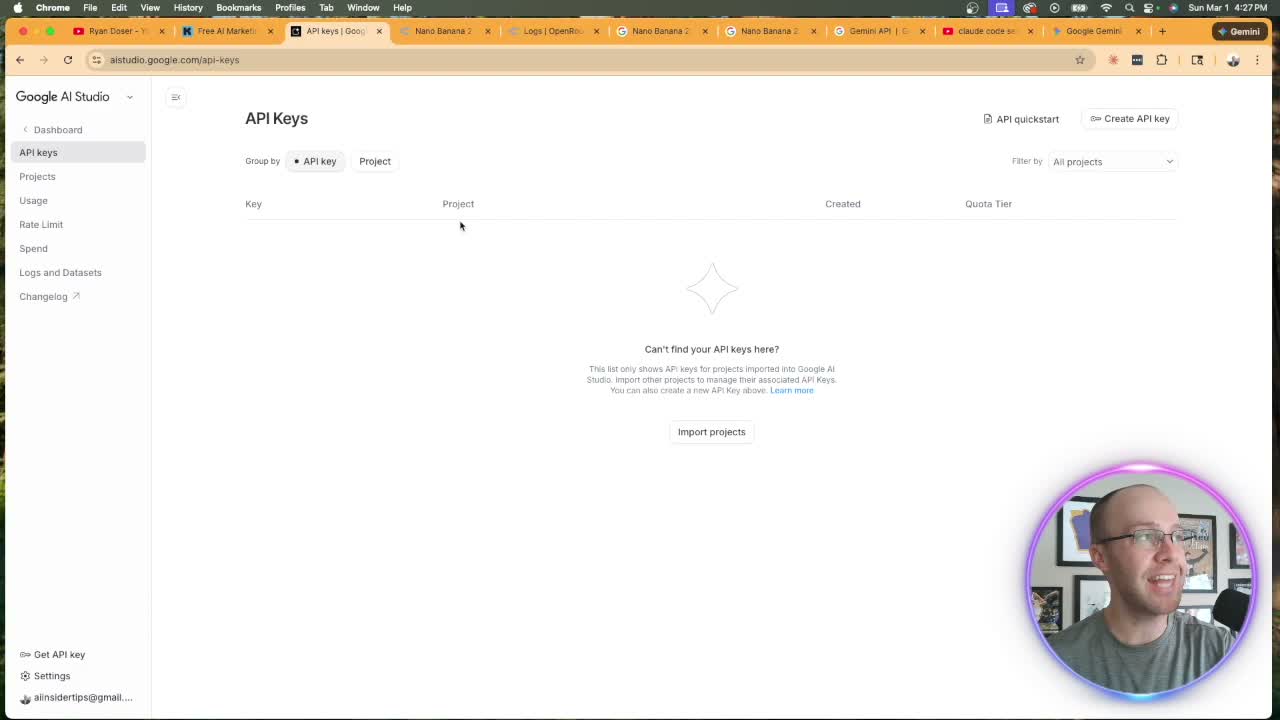
Most people using Claude Code for content work are still copy-pasting prompts into Midjourney or firing up a separate image tool. That adds friction. Nano Banana 2 removes it. Nano Banana 2 is Google's latest AI image model. It runs roughly 6-7 cents per image versus 13-14 cents for its predecessor, Nano Banana Pro. That gap adds up fast when you're generating thumbnails, social graphics, or client assets at scale. The setup runs through the API, not the Gemini web app. Two paths exist: Google AI Studio (free, direct) or OpenRouter (what I use). OpenRouter consolidates every model under one API key. Google, Anthropic, OpenAI -- one key, one dashboard, one place to track costs.Getting Your API Key Set Up
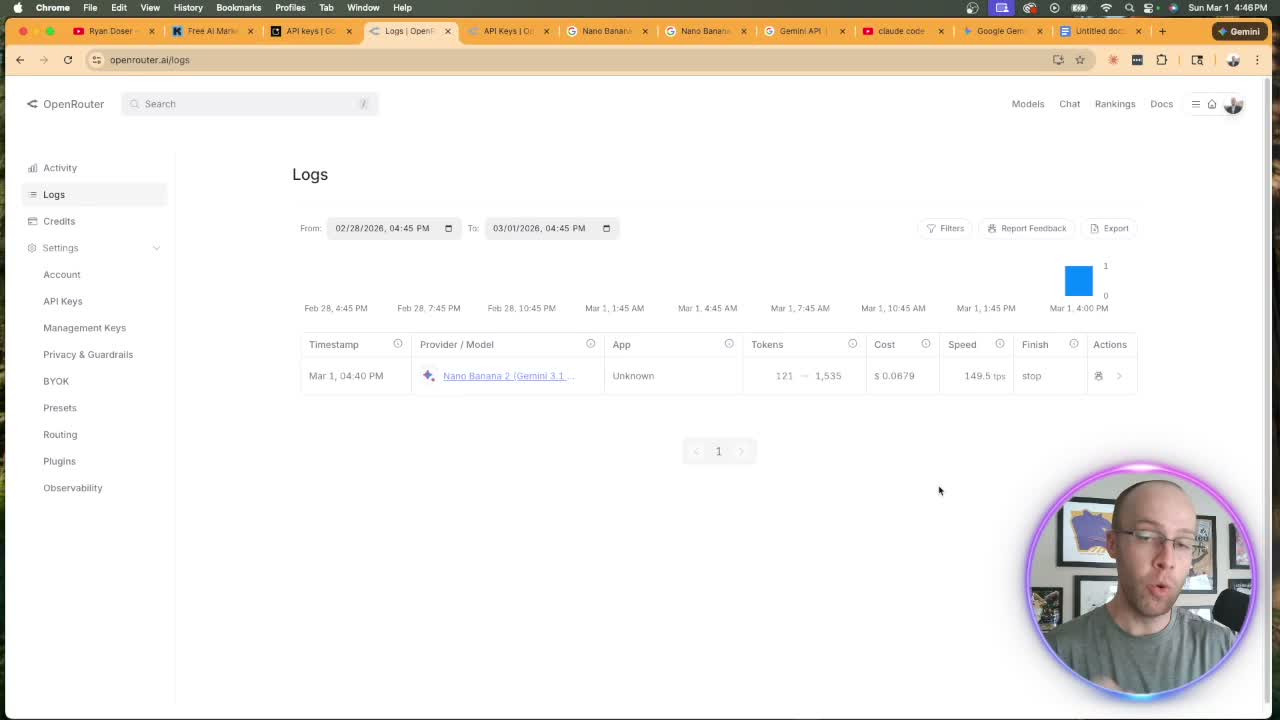
You've probably heard "just get an API key" before. Here's the actual process so you don't have to figure it out. For OpenRouter, sign up at openrouter.ai (free). Add $5-10 in credits. Go to API Keys, click Create, name it something like "claude-code," and copy the key. Back in Claude Code, paste this:Store this API key from OpenRouter to generate images with Google's Nano Banana 2 AI image model. [paste your key]. Here's the OpenRouter documentation for Nano Banana 2 for more context. [paste the model page URL]The model page is the Nano Banana 2 listing on OpenRouter. Copy that page and include it as context. More context means better output. If you already have an OpenRouter key in an
APIs.env file, Claude Code updates it automatically. If not, it creates a new file. Either way, the key gets stored.
To test it, prompt: "Generate a realistic image of [location] using Nano Banana 2. Use my OpenRouter API key." That explicit reference matters on the first run. After that, Claude Code knows. The result saves as an image file in your workspace.
Using Claude Skills to Generate Thumbnails with Nano Banana
Asking Claude Code to "make me a thumbnail" in a chat gives you a generic result. That's not a knock on the model. It's a prompt problem. Skills solve this. A skill is a Markdown file that gives Claude Code persistent context, rules, and instructions for a specific task. Two skills drive the thumbnail workflow I showed in the video: a Nano Banana API best practices skill and a YouTube thumbnail designer skill. My Claude Code Skills Stack has 20+ skills I use daily to automate marketing and content creation with a one time fee and lifetime updates. The Nano Banana skill was built fast. I pulled the official Nano Banana API documentation, copied it as Markdown, and said: "Make me a skill file with best practices for generating images with Nano Banana." Done. The thumbnail designer skill took more work. It holds years of knowledge about what makes a thumbnail drive clicks. Both skills are available inside my AI Marketing Insiders community if you want the shortcut. Here's the actual prompt structure I used in the video:I need you to design a YouTube thumbnail using the YouTube Thumbnail Designer skill. Take the thumbnail from [reference video URL] and make the following changes: change the text from "unstoppable" to "game changer" and remove the headshot. Keep everything else the same, including image dimensions. Use Google Nano Banana 2 through the OpenRouter API. Use the Nano Banana API best practices skill.Claude Code ran Opus for this one. It generated three output files -- original, draft, and final. The result matched the brief exactly: text updated, headshot removed, dimensions intact.
The Headshot Problem (And the Real Workflow)
Here's the honest take on AI image models and headshots: they're not reliable yet. I tested adding my headshot inside Claude Code. The model placed it, but it covered the text. Positioning was off. That's where these models still fall short for compositing real faces onto designed layouts. My actual workflow: generate the thumbnail without a headshot. Leave clean space on the right side. Export it. Drop it into Canva or Photoshop, drag in your PNG cutout, and save. Adds 30-60 seconds. Keeps quality high.